White Label and Brand Your Portal
White Label and Brand Your Portal
Background & Purpose
White labeling your portal so it reflects your own branding across every client-facing touchpoint — your logo, colors, and browser tab icon.
Step-by-Step Instructions
1. Access Agency Settings
Switch to Agency mode using the toggle at the top of the left sidebar (next to Client).
Click your account name at the bottom-left of the sidebar (e.g., "AI Developer").
Select Settings from the menu that pops up.
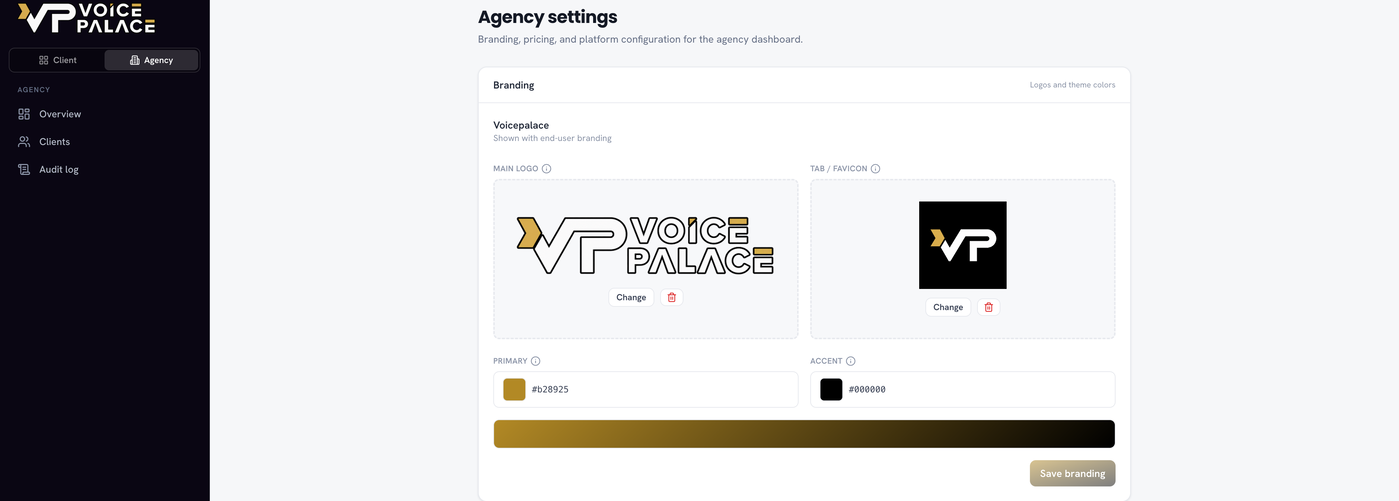
3. Set Your Favicon
Under Tab / Favicon, click Change to upload the small icon that appears in the browser tab.
4. Customize Your Brand Colors
Set your Primary color and Accent color using the hex fields (or the color picker).
The preview bar below shows how the two colors blend across your theme.
Click Save Branding to apply the colors across your workspace and sub-accounts.
FAQs
What file types are supported for the logo? Not confirmed yet — flag for follow-up once you've tested an upload.
Do logo and favicon apply immediately? Once saved, they should update dynamically across the portal.
Does this affect my sub-accounts/clients too? Yes — Primary/Accent colors apply globally across your workspace and sub-accounts.